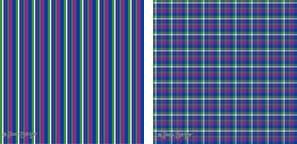
 Stripe patterns used alone or with other design elements seem to be a staple for art on products. Although plaids are no longer as popular as they were a few years ago, they are still consistently used for some products such as fabrics. A plaid pattern is a great addition to a fabric collection. Of course, there is nothing better than hand painted stripes and plaids but if you need them in a hurry or don't want to paint them, they can be easily created in Photoshop. The following steps shows you how I create stripes and plaids. Note: This method can also be adapted for use in Adobe Illustrator.
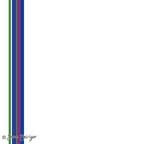
 1. Make sure that the layer window in Photoshop is open. On a new layer create a series of stripes. To do this, select a vertical area in the Photoshop window using the marguee tool and fill the selected area with the desired color by using the paint bucket tool. Continue creating stripes with different colors and widths and place them adjacent to each other until you have a band of stripes.
2. Move the stripe band to the left of the window. Duplicate the layer (Mac = option key, Windows =alt key) and drag it next to the first stripe band. Do this until "almost" the entire window is filled. You now should have multiple layers of stripe bands in the layers window.

3. Select all the stripe layers in the layers window and use the align vertical centers command that is located on the options bar (Mac = across the top of the window) to line up the stripes.
4. Merge the layers (Mac = command + E, Windows = Ctrl + E) so that you now have only one layer with a block of stripes.
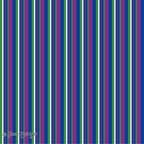
5. Select the block of stripes with the free transform command (Mac = command + T, Windows = Ctrl + T). Hold down the shift key and pull the corner to enlarge the stripe block to fill the window. You now have your own original repeating stripe pattern.

6. To create a plaid by using the stripe pattern that you created above, duplicate the layer and drag the pattern. A new stripe block layer is now on top of the original layer in the layers window.
7. Reduce the opacity of the new layer to 50%.
8. Rotate that layer 90 degrees by selecting the free transform command, hold down the shift key and rotate the layer clockwise or counter clockwise until the stripes are perpendicular to the the stripes on the underneath layer.
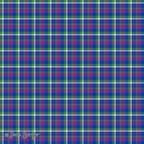
9. Line up the two layers by selecting both layers in the layers window and use the align vertical center and align horizontal center located on the options bar. Voila, you now have your own original plaid pattern!
Copyright © 2009 Joan Beiriger


This is excellent Joan! Thanks so much for sharing.
ReplyDeleteFrom Paula, who paints her plaid by hand